Three Crochet Borders To Finish Off Your Project Perfectly
Finding a crochet border that is just right can be quite the task. Sometimes you might want to go bold with an elaborate, detailed edge or maybe let the blanket do the talking and keep it low key.
Whatever the project may be that you are adding an edging to, a blanket, shawl or garment, the finished article must be considered.
To help narrow down your search we have three easy to follow edging ideas to add that finishing touch to your crochet or knitting for that matter. It can be nice to combine knitting and crochet by adding a delicate crochet border to a knitted item, this can look really effective on a knitted blanket.
We asked three Crochet Bloggers / Designers to share their go to crochet borders - Emma Varnam, Sandra Paul (Cherry Heart) and Lynne Rowe. Quite the bunch of talented crocheters with a string of books and must have designs between them.
All of the sample below are crocheted in Scheepjes Softfun yarn.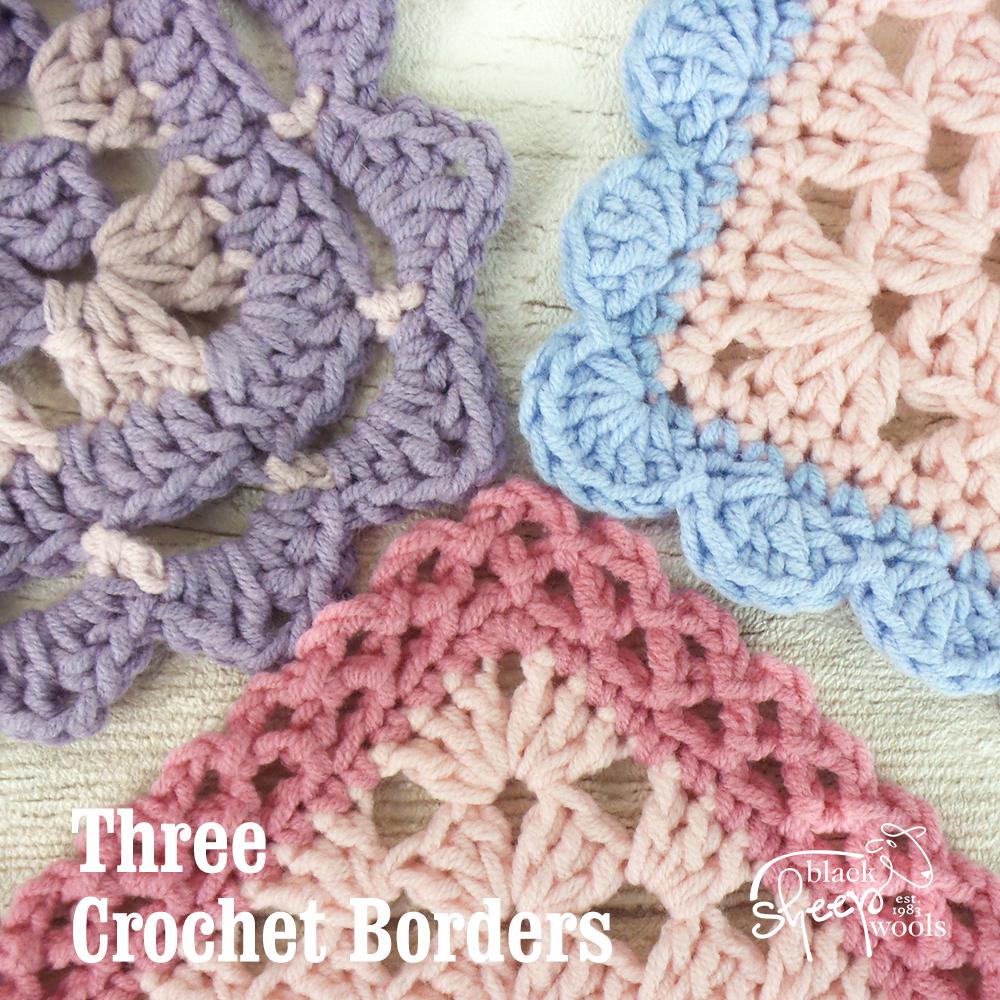
Emma Varnam - Crochet Border
Emma Varnam is a good friend of Black Sheep Wools. She has a selection of crochet books including Learn to Crochet for the complete beginner and has recently designed an amazing exclusive blanket design in Scheepjes River Washed & Stone Washed mini balls. Emma will also be with us for Yarn Shop day on 12th May sharing her crochet skills.Emma says -
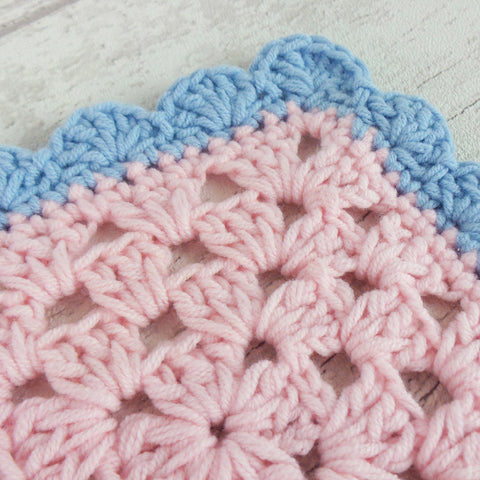
I can’t deny it, a shell edging is perhaps my most favourite and ultimately pretty finishing touch to any project. I have used it many times in my designs and it will provide a touch of finesse to your crochet blankets.
I used this technique in my new book; Granny Squares Home. A simple bathroom tidy is finished off with a shell edging, both practical and attractive. A shell is made by working several stitches into a single stitch. In order to keep the rest of your work flat, you need to miss one or more base stitches in the row below.
In the example I have made.
Shell Crochet Border Pattern
Make a slip stitch into the first stitch of your edge.
Miss 1 stitch.
Work 5 treble stitches into the next stitch
Miss 1 stitch.
Slip stitch in the next stitch to create the shell.
Repeat along the edge.
At the corner you can work 7 treble stitches to great effect.

Sandra Paul - Crochet Border
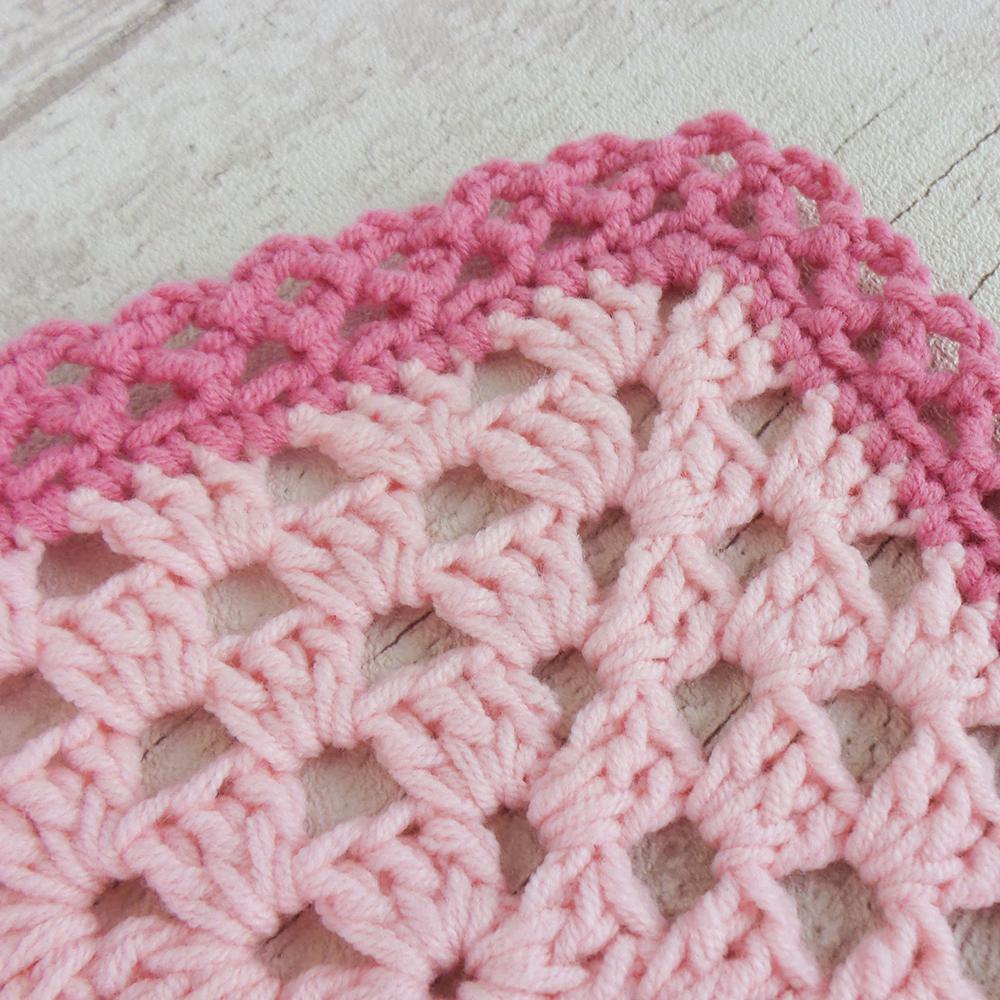
We have been working with Sandra for many years now. It all began with the celebrated Spice of Life crochet along blanket back in 2015. We then collaborated once again in autumn last year for a Spicier Life CAL. Sandra posts regular podcasts alongside writing for her blog. Follow her Instagram too she is always teasing something new!Lacy Crochet Border Pattern
Lynne Rowe - Crochet Border
Lynne Rowe has her own knitting and crochet books, is a pattern tech editor and teaches workshops. She will be at the Craft Barn on 21st July teaching 'Writing the perfect pattern' for anyone who fancies writing their own knitting or crochet patterns.
Lynne says -
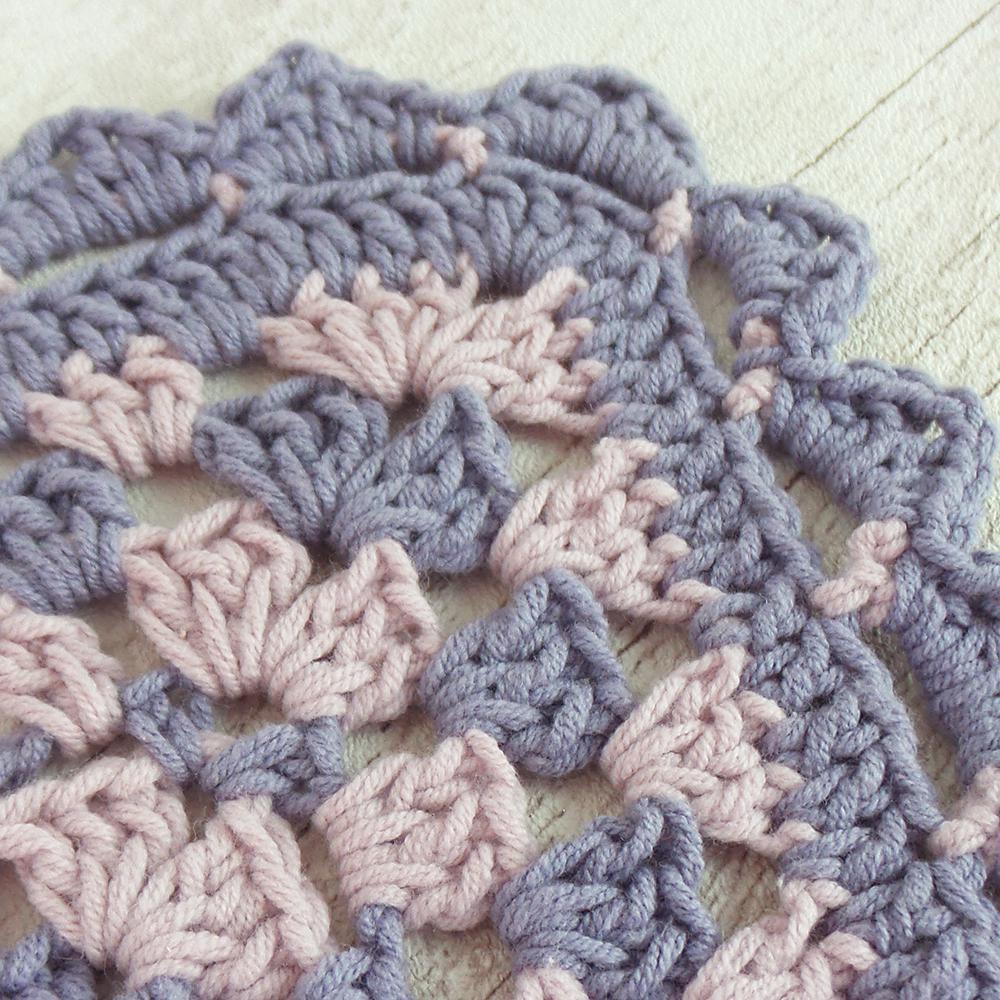
Sometimes, less is more, and when you’ve crocheted a simple granny square blanket, the best way to finish it off is to add a simple edging that complements both the colours and stitch patterns used.
One of my favourite edgings to finish off a cosy blanket, is this pretty scalloped edging which uses basic crochet stitches, including treble crochet, half treble crochet, double crochet, slip stitch and chains.
Scalloped Crochet Border Pattern
Abbreviations:
ch, chain; sl st, slip stitch; dc, double crochet, htr, half treble crochet; tr, treble crochet.
Step 1: Make your Granny Square blanket, in either a single colour, or multi-colours.
Step 2: After working the final round of your blanket, fasten off. Weave in all ends.
Step 3: Round 1 of edging: Join Yarn A with a sl st to any corner, ch3 (counts as first tr), 4tr in same corner space, *work 1tr in every tr and 1tr in every space between groups of 3tr, to the next corner space, 5tr in corner space*; repeat from * to * twice more, then work 1tr in every tr and 1tr in every space between groups of 3tr, to end, sl st to the top of beginning 3ch to join. Cut yarn and fasten off.
You will now have 1 tr in every stitch, 1 tr in the gaps between the groups of 3tr, plus 5 tr in each corner.
Step 4: Round 2 of edging: Join Yarn B with a sl st, to any tr that was worked in the space between groups of 3tr, *5ch, skip next 3 tr, sl st in next tr; repeat from * to last 3 tr, 5ch, skip next 3 tr, sl st in base of beginning 5ch. Cut yarn and fasten off.
After working Round 2 of edging you will have a series of 5ch loops all around your blanket, with a 5ch loop sitting neatly across each corner.
Step 5: Round 3 of edging: Join Yarn A with a sl st to any 5ch space, 1ch (not counted as a st) *work [1dc, 1htr, 1tr, 2ch, 1tr, 1htr, 1dc] all in 5ch space (working over the 5ch loop and not into any individual sts); repeat from *, in every 5ch space to the end, sl st in first dc. Cut yarn and fasten off.
After working Round 3 of edging, you will have a scallop in each 5ch loop.
To finish:
Weave in all ends and if desired, block your blanket as follows: spray with cold water until damp, pin
out flat to measurements required and keeping edging flat. Leave to dry completely.

